|
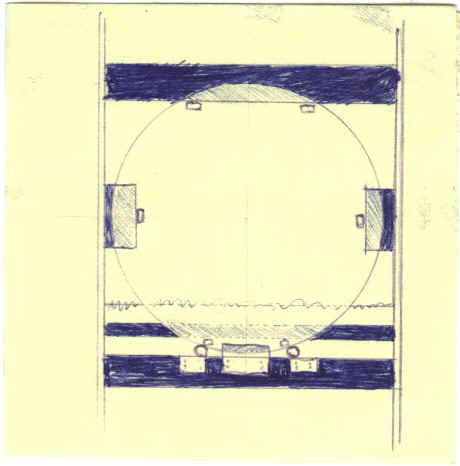
Here's a picture of the original sticky note I drew up
one day while I was trying to figure out how to get the monitor to
rotate without too much complication. The design I came up with is very
simple and works great. The monitor turns very smoothly.
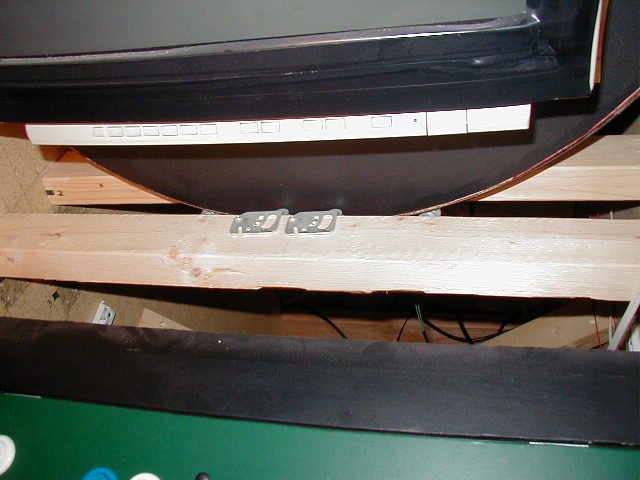
As a side note I would like to add, that if I were to do this again, I would not make the monitor rotatable. It wasn't terribly complicated, but I just don't feel the effort was worth it in the end. I fear damaging the monitor by rotating it too much, so I end up playing most games horizontal anyways. The 19" monitor is big enough to make the vertical games look really good, but it's still nice to have the option to rotate if I want. Not making it rotatable would of easily taken more than a week off the completion time for me, and also would have made it much easier to insert and remove the monitor. I'd say more than 50% of this project has been in dealing with the monitor in some way or another. So be warned it will take a lot of your time to do this. The first thing I did was to measure where I wanted the monitor to go inside the cabinet. I needed a plywood circle to mount the monitor on, and the circle would rotate on wheels. I originally planned on having the whole thing concealed inside the cabinet, but with the size of the monitor I used, the circle needed just wouldn't fit, so I decided to have the circle big enough to stick out the sides (which by the way makes rotating it very easy to do.) Next I cut the circle out of 3/4" plywood. It was 29" in diameter which left about 1 1/4" to stick out of the sides. With the circle cut out I figured out exactly where I wanted the monitor to be inside the circle. The trick here (because I left the case on the monitor) is to center the screen, not the case, in the center of the circle. Because the case has a little more on the bottom (for the power switch and other buttons, I had to put the whole case a little below center of the circle to make sure the screen was centered perfectly. Also you want to make sure that the monitor sits in the circle at its center of gravity. With my monitor it meant that the screen needed to stick out about 3" from the circle face. Basically I'm trying to say that if you hold circle with the monitor attached straight up, you want it balanced so that it wont lean forward or back. To find out where the center of gravity is on your monitor, pick it up from the bottom with a couple of fingers on both sides, and move them forward or back until you can pick it up and it doesn't want to fall. Mark that position where your fingers are and that's where you want the monitor to sit in the circle. Then I VERY CAREFULLY measured and planned and measured and planned and measured again for exactly where the holes on the side will go. You just have to be very careful that you get the screen in the right spot. I made a slight mistake that I discovered later while play testing that I placed the monitor a little too low. So I had to cut the side holes a little higher, and moved the monitor 2" higher. It looks much better now. Cut the hole on one side much longer so that the circle can be inserted with the cabinet put together. Then with the sides attached to the top and bottom pieces, lay the cabinet on its back and place wood under the top until the holes in the sides are parallel with the ground, and insert the circle in the side holes. Cut out 4 26" (or whatever the inside width of your cabinet is) pieces of 2x3" lumber. It is very difficult to describe in words what to do so here is a diagram on the placement of the roller wheels inside the cabinet. Coming Soon
I hope this explains things enough to help you do this.
Getting this part done is actually not very complicated and I did it all
on a Saturday afternoon. I've read some solutions from people that have
taken them weeks to accomplish this sort of thing.
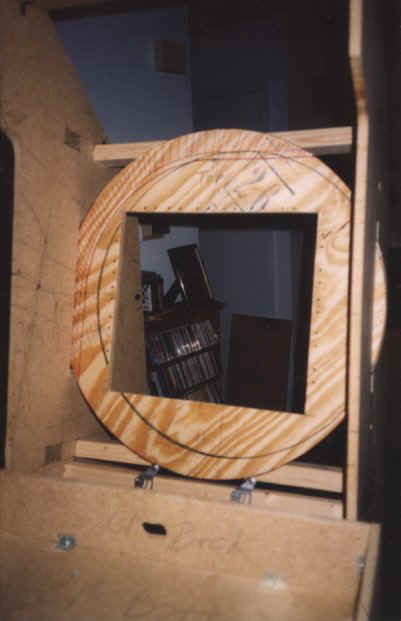
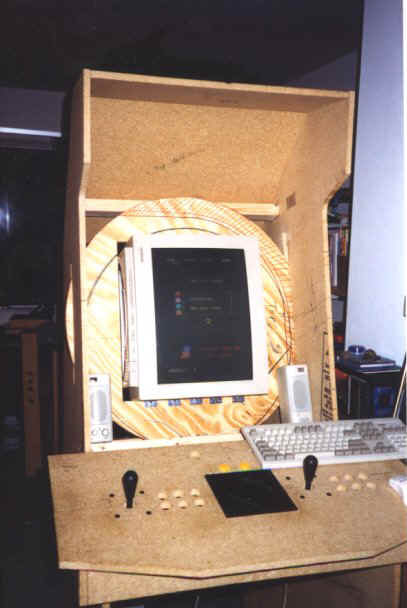
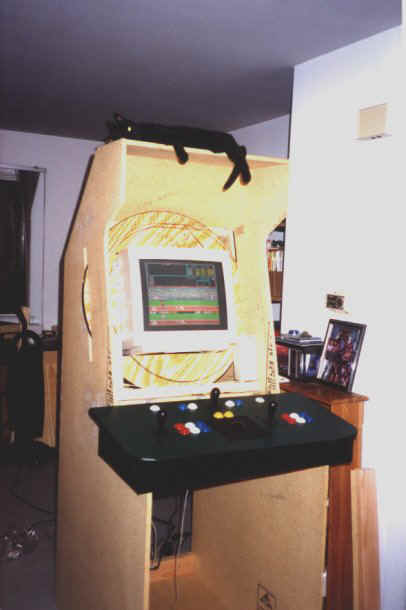
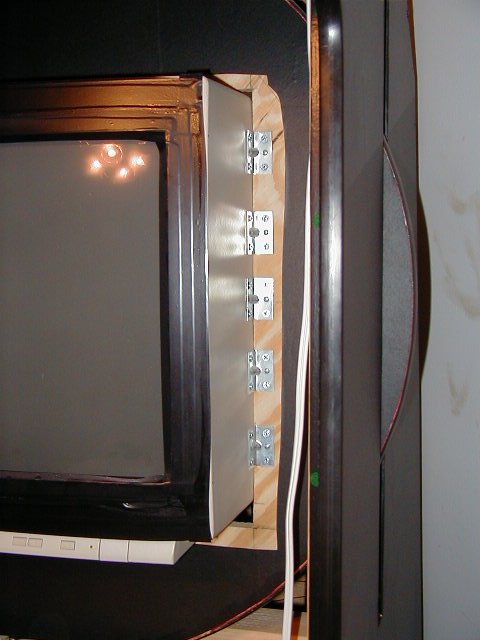
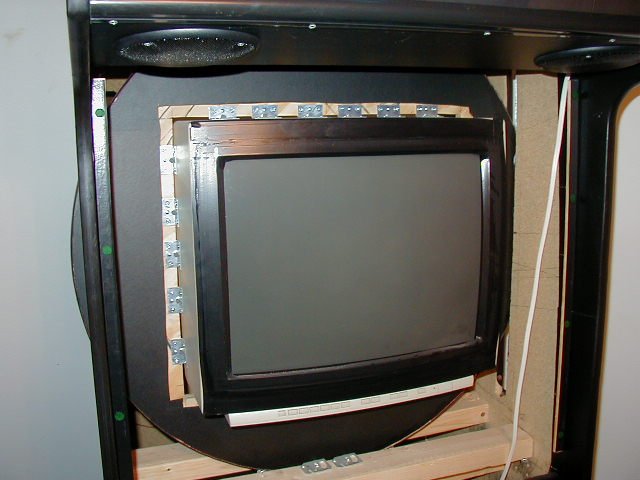
Here's some shots with the monitor installed rotated vertically and horizontally. My cabinet turned out to be a great resting place for my cats...
Here are a few new shots that will hopefully show a little better what I did...
|